46
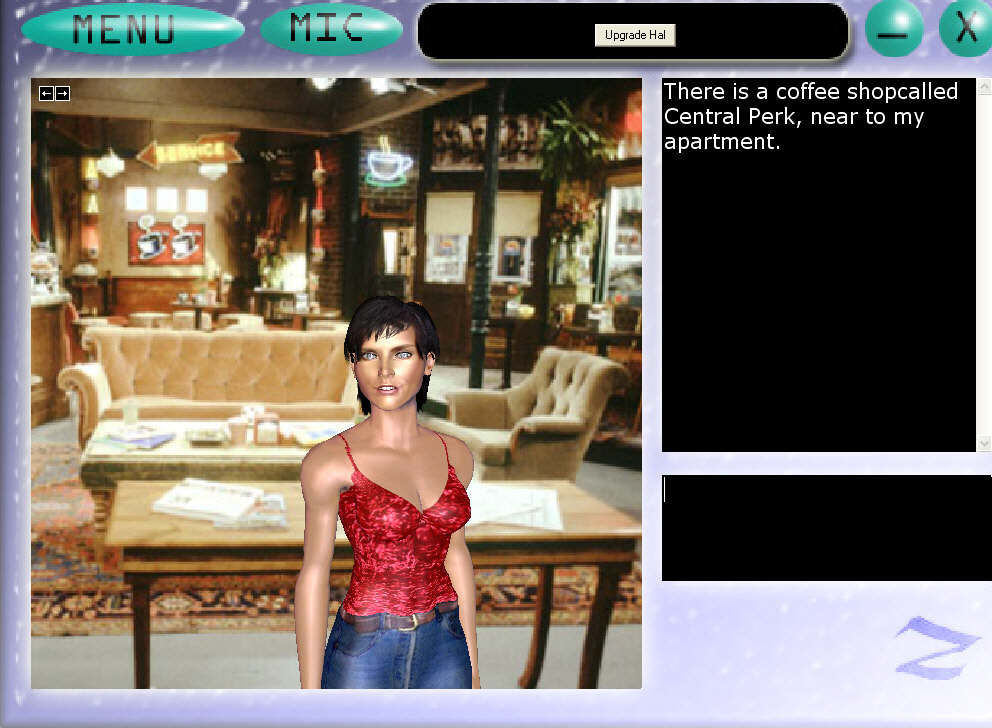
Ultra Hal 7.0 / Help??
« on: November 28, 2005, 04:25:02 pm »
Easiest way to get haps to work in Hal6 seems to be to use a plug in.
This is a simplified version of what I've used.It's based on something Vrossi posted a few days ago.
Copy the following into notepad or use the attached file(but delete the .txt extension).Rename nameofhap to whatever one you use.Save it as hapcall.uhp and put it in the main Hal6 folder.Put your haps in the character folder as in Hal5 and leave any textures/backgrounds in the appropriate haptek folder.
Start Hal,goto Options,select the brain and select Simple hap caller from the plug in list.Then chat with Hal and type in your trigger phrase (qwz as default but you can change that to what you want)and it should work.Guess you know about the setup stuff,but someone else may read it later who doesn't.[ ]
]
Thanks to Vrossi for the idea and original script.
 Download Attachment: testplug.uhp.txt
2.14 KB
Rem Type=Plugin
Rem Name=Simple hap caller
Rem Author=P
Rem Host=Assistant
'This sub setups the plug-ins option panel in Hal's options dialog
Sub OptionsPanel()
lblPlugin(0).Caption = "make haps work"
lblPlugin(0).Move 120, 120, 3300, 1000
lblPlugin(0).WordWrap = True
lblPlugin(0).Visible = True
End Sub
Rem PLUGIN: SCRIPT_LOAD
'The comment above tells Ultra Hal Assistant to insert the following code
'on-the-fly into the main brain code in the section referenced.
Rem PLUGIN: CUSTOMMEM
'The preceding comment is actually a plug-in directive for
'the Ultra Hal host application. It allows for code snippets
'to be inserted here on-the-fly based on user configuration.
Rem PLUGIN: CUSTOMMEM2
'The preceding comment is actually a plug-in directive for
'the Ultra Hal host application. It allows for code snippets
'to be inserted here on-the-fly based on user configuration.
Rem PLUGIN: PLUGINAREA1
'The comment above tells Ultra Hal Assistant to insert the following code
'on-the-fly into the main brain code in the section referenced.
'-------------------------------------------
'-------------------------------------------
'declare variables
p_File = ""
p_UserSentence = LCase(UserSentence)
'------------------
'------------------
' Choose hap
If InStr(p_UserSentence, "qwz") <> 0 Then
p_File = "nameofhap.hap"
HalCommands = "<HAPFILE>" & p_file & "</HAPFILE>"
End if
'Repeat above with different haps if required
'Call hap
If p_file <> "" Then
HalCommands = "<HAPFILE>" & p_File & "</HAPFILE>"
BlockSave = True
GetResponseBlock = True
End if
This is a simplified version of what I've used.It's based on something Vrossi posted a few days ago.
Copy the following into notepad or use the attached file(but delete the .txt extension).Rename nameofhap to whatever one you use.Save it as hapcall.uhp and put it in the main Hal6 folder.Put your haps in the character folder as in Hal5 and leave any textures/backgrounds in the appropriate haptek folder.
Start Hal,goto Options,select the brain and select Simple hap caller from the plug in list.Then chat with Hal and type in your trigger phrase (qwz as default but you can change that to what you want)and it should work.Guess you know about the setup stuff,but someone else may read it later who doesn't.[
 ]
]Thanks to Vrossi for the idea and original script.
2.14 KB
Rem Type=Plugin
Rem Name=Simple hap caller
Rem Author=P
Rem Host=Assistant
'This sub setups the plug-ins option panel in Hal's options dialog
Sub OptionsPanel()
lblPlugin(0).Caption = "make haps work"
lblPlugin(0).Move 120, 120, 3300, 1000
lblPlugin(0).WordWrap = True
lblPlugin(0).Visible = True
End Sub
Rem PLUGIN: SCRIPT_LOAD
'The comment above tells Ultra Hal Assistant to insert the following code
'on-the-fly into the main brain code in the section referenced.
Rem PLUGIN: CUSTOMMEM
'The preceding comment is actually a plug-in directive for
'the Ultra Hal host application. It allows for code snippets
'to be inserted here on-the-fly based on user configuration.
Rem PLUGIN: CUSTOMMEM2
'The preceding comment is actually a plug-in directive for
'the Ultra Hal host application. It allows for code snippets
'to be inserted here on-the-fly based on user configuration.
Rem PLUGIN: PLUGINAREA1
'The comment above tells Ultra Hal Assistant to insert the following code
'on-the-fly into the main brain code in the section referenced.
'-------------------------------------------
'-------------------------------------------
'declare variables
p_File = ""
p_UserSentence = LCase(UserSentence)
'------------------
'------------------
' Choose hap
If InStr(p_UserSentence, "qwz") <> 0 Then
p_File = "nameofhap.hap"
HalCommands = "<HAPFILE>" & p_file & "</HAPFILE>"
End if
'Repeat above with different haps if required
'Call hap
If p_file <> "" Then
HalCommands = "<HAPFILE>" & p_File & "</HAPFILE>"
BlockSave = True
GetResponseBlock = True
End if


